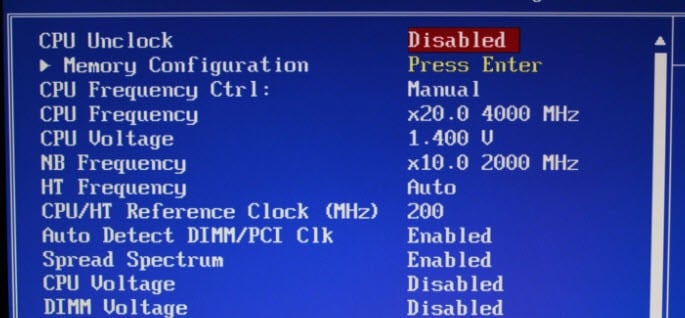
However, with more users opting to purchase custom PCs that are relatively cheap, it’s now possible for pretty much a novice to overclock a CPU just by picking a different setting in the BIOS. I’ve previously written about the tools you can use to overclock your RAM, CPU, and GPU and a couple of tools you can use to benchmark your PC. When overclocking, you want to keep a close eye on the temperature of your CPU. To find out your CPU temperature, you’ll need to download a third party program that can read the temperature on each core in the processor.
How to Check Your CPU Temperature
The easiest way to check your CPU temperature is to download Core Temp from alcpu.com. Once you’ve downloaded the software, run the installer and then click the Launch Core Temp box. Finally, click Finish.
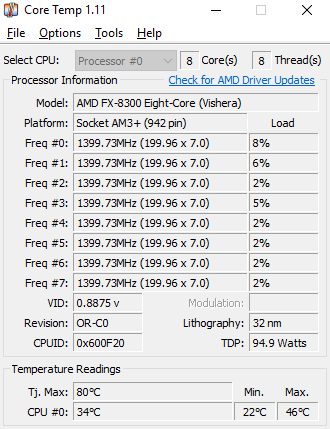
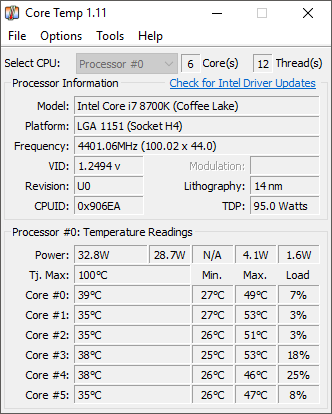
Once Core Temp is open, you can view your average CPU temperature by looking at the bottom right hand side of the window. You’ll be able to see the min and max values in Celsius. Below you’ll see what Core Temp looks like for an AMD processor and an Intel processor.
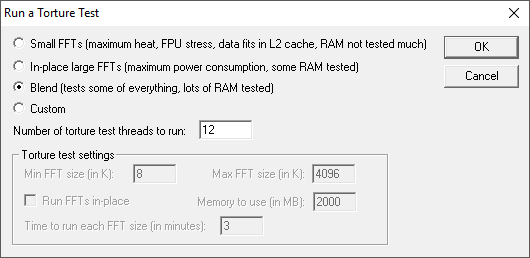
These values will change as you perform different tasks on your PC. For example, if you play a game or run a video editing program, the temperature of your CPU will rise. It’s completely normal to see these temperatures fluctuate very quickly. A good way to test this is to download Prime95, exact the zip file and then run the EXE file. When the program opens, click on Just Stress Testing. Then go ahead and run a torture test and select the Blend option.
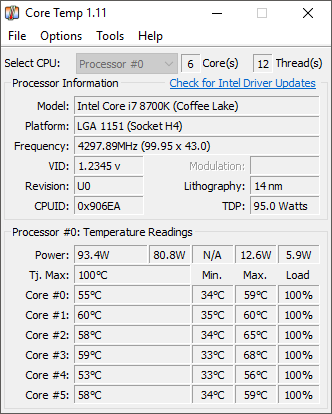
If you keep Core Temp open at the same time, within the few seconds, you will see the temps shoot up.
So, is there anything to worry about with those temperatures? Let’s discuss that in the next section.
Ideal CPU Temperature When Idle or During Gaming
Notice, above, that the temperatures are still well below the max of 100 degrees Celsius. The ideal CPU temperature will depend on the processor you own. Some processors may get hotter than others. For the most part, you should aim to keep your temperature below 75 degrees Celsius when gaming or using software. If your CPU goes above 75 degrees Celsius, you may start to notice a degradation in performance because your processor is limiting its capabilities to help cool itself down – this is known as thermal throttling. In the Core Temp app, you’ll notice that the frequency will drop from the max to a lower value when thermal throttling occurs. As for idle temperature, as a general rule of thumb, anything between 25 and 35 degrees Celsius is considered ‘cool’. Your CPU should be within this region if it isn’t running any demanding programs. Thankfully, modern processors are intelligently designed – you pose little risk to your hardware if higher temperatures are reached. If your temperatures do go too high, it will simply limit your overall performance, so it’s always best to keep things as cool as possible. The only time things can go wrong is if you have an overclock-able processor (Intel processors that end in K) and you decide to manually adjust the voltage and frequency in the BIOS. In this case, you could do some real damage to the CPU or motherboard. In addition, Windows will almost certainly crash when the CPU gets too hot.
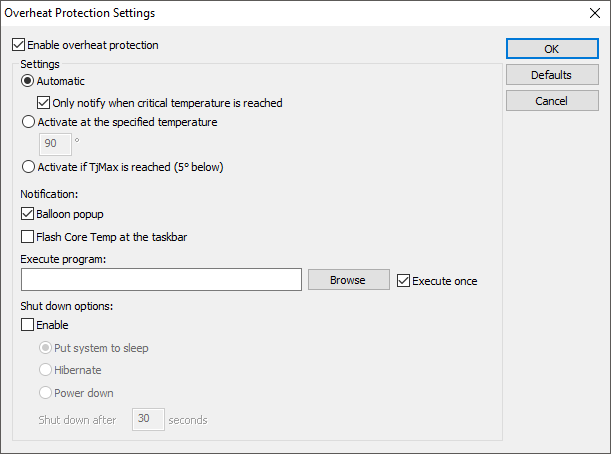
Luckily, Core Temp has an overheat protection feature. Click on Options and then Overheat Protection.
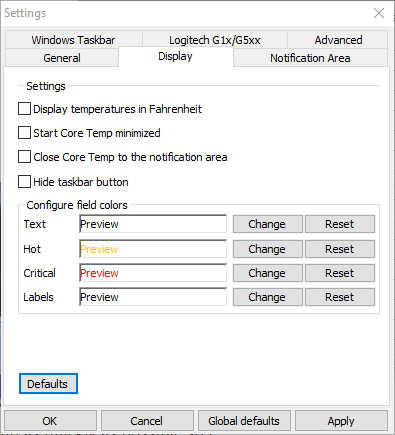
Check the Enable overheat protection box and pick from one of the three options. By default, it will automatically notify you when the critical temperature is reached. If you want to be extra safe, you can have the computer go to sleep, hibernate or shutdown too. If you click on Options and then Settings, you can also make changes to how Core Temp monitors and displays CPU temperatures.
You can change the polling interval, display the temperature in Fahrenheit and even display a bunch of stats in your taskbar if you like. Hopefully, this article gives you a little more insight into CPU temps and how you can monitor them using Core Temp. If you have any questions, post a comment. Enjoy!

