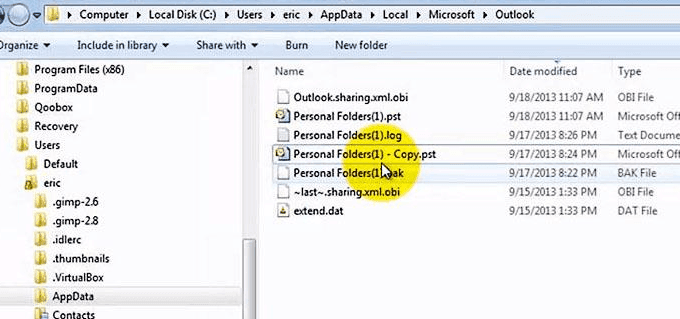
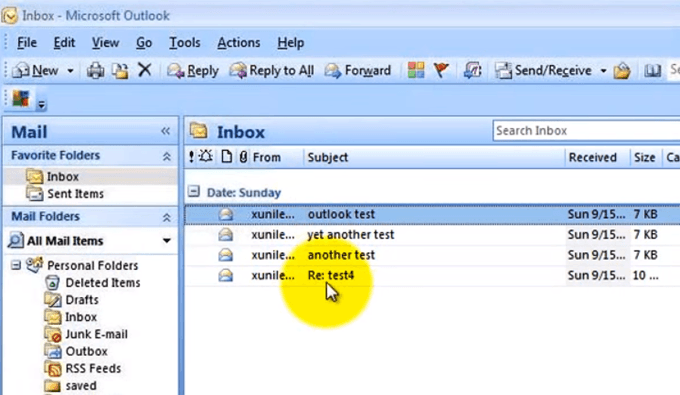
First things first: you must close Outlook immediately after you’ve deleted the items. It’s also important that you not restart the program until the very end of the process. The longer you keep it open, the more unpredictable the results will become. Your deleted files are stored as a PST file. Outlook’s instinct is to overwrite a PST file once changes are detected such as removing content. Our job is to restore the files before Outlook gets a chance to make changes to the PST. The method discussed below will require us to make direct changes to the PST file. We do this using something called a Hex Editor. You will need to download and install one before you attempt email recovery. There are many Hex Editors available online for free. There are also versions that do not require installation. The plan is to fool Outlook into thinking that it’s corrupted. To be more specific, we’re targeting the Table of Contents or TOC. This is what Outlook uses to categorize emails before placing them in the appropriate folder. Normally, the TOC removes deleted items. But if we corrupt and repair (more on that later) fast enough, we can trick Outlook into thinking there was no change to the PST file. This act will restore all the deleted emails. It will carry on as if nothing happened. Here’s how you locate the PST files stored in your computer. Go to File > Data Management. Go through the list of PST files and select the files you need. Click Open File Location to access the PST files. Copy the PST files and paste it in a safe location in your hard drive. Note: We will be editing the copy instead of the original file. Open the PST file you copied using a Hex Editor. You’ll be greeted by rows and columns of numbers and letters. These are called hexadecimal characters. We will be making changes to these values to achieve the desired results. Locate hexadecimal positions 7 to 13. Using the space bar, delete the values under position 7 to 13. This would sometimes replace the original value with “20”. Once done with your changes, save the PST file and exit the Hex Editor. If your Hex Editor supports it, you can also update the PST file using Fill Selection. Now that we were able to successfully corrupt the PST, we will now proceed with recovering the file. To do that, we will be using a tool called scanpst.exe. As the repair tool scans and fixes the corrupt PST and TOC, it will see the permanently deleted messages and think they’ve only been misplaced. This will result in the messages being moved back to their proper folders. Open scanpst.exe (Office 365 users will find it here: C:\Program Files\Microsoft Office\root\office16) Click Browse and open the edited PST file. Click Start. After the repair is complete, open the PST file in Outlook. If the recovery went according to plan, the deleted emails should now be back in the Deleted Items folder or in the folder they were originally located. While this method works, it does not have a 100% success rate. You should manage your expectations. If this does not work, there are third-party recovery tools you can look into.


